
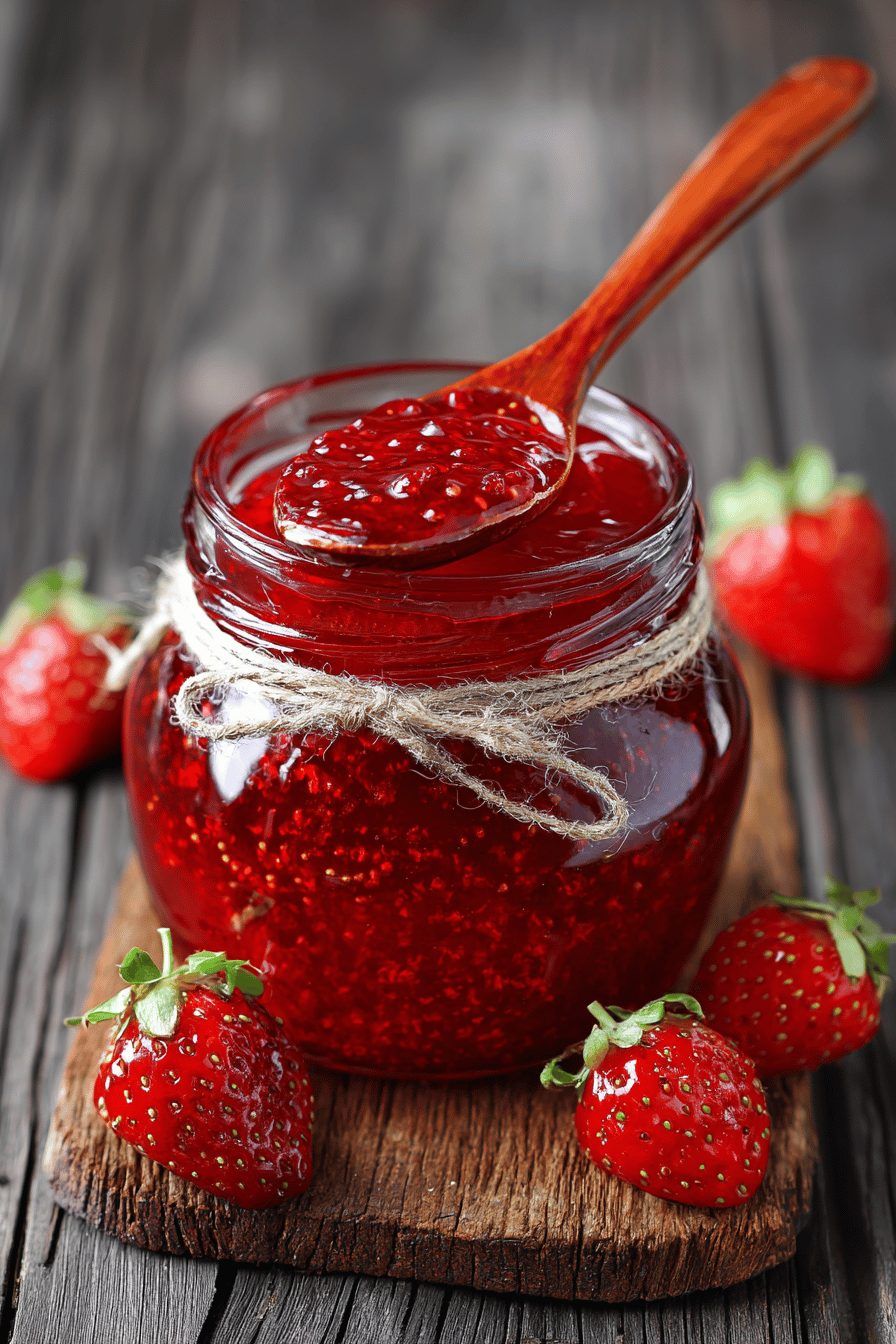
Strawberry jam is one of the most loved homemade spreads in the world. Canning strawberry jam means cooking fresh strawberries with sugar and lemon juice, then sealing the hot jam in clean jars so it can stay fresh for many months. This simple method helps you enjoy the sweet taste of strawberries even when they are not in season. Many families have made strawberry jam at home for many years. It is a beautiful way to save the flavor of summer and keep it in your kitchen. When you open a jar in winter, it feels like you are opening a little piece of sunshine.
People love canning strawberry jam because it tastes fresh, natural, and full of real fruit flavor. Store bought jam often has extra preservatives and artificial flavors. Homemade jam is different. You control what goes inside. You can choose fresh strawberries, adjust the sugar level, and make it just the way you like. The smell of strawberries cooking on the stove fills the whole house with a sweet and warm aroma. Spreading homemade jam on toast in the morning feels comforting and special. It also makes a thoughtful gift for friends and family.
There are many good reasons to make and can strawberry jam. When strawberries are in season, they are cheaper and taste much sweeter. Canning helps you save money and reduce food waste. It is also a relaxing kitchen activity that many people enjoy. If you love natural food and want to avoid too many processed items, this recipe is perfect for you. Strawberries are rich in vitamin C and antioxidants, which support your immune system. Making jam at home gives you both emotional happiness and a delicious treat for your family.
Ingredients You Will Need
Here is everything you need to make about 6 medium jars of strawberry jam.
Fresh strawberries 2 kilograms
Granulated sugar 1.5 kilograms
Fresh lemon juice 4 tablespoons
Water 1 cup for boiling jars
Optional ingredients
Butter 1 teaspoon to reduce foam
Fruit pectin 1 packet if you want thicker jam
You will also need
6 to 7 clean glass jars with lids
Large cooking pot
Wooden spoon
Ladle
Clean cloth
Step by Step Method
Step 1: Prepare the jars
Wash the glass jars and lids with warm soapy water. Rinse them well. Place the jars in a large pot with water and boil them for 10 minutes to sterilize. Keep them in hot water until you are ready to fill them. This step is very important for safe canning.
Step 2: Prepare the strawberries
Wash the strawberries under clean running water. Remove the green tops. Check for any damaged or soft berries and remove them. Cut the strawberries into small pieces. If you like smoother jam, you can mash them using a potato masher.
Step 3: Cook the fruit
Place the chopped strawberries in a large heavy pot. Add the sugar and lemon juice. Mix everything well. Let the mixture sit for about 10 minutes so the sugar starts to melt and release the fruit juices.
Step 4: Start heating
Turn the heat to medium and cook the strawberry mixture. Stir often with a wooden spoon so it does not stick to the bottom. After some time, the mixture will begin to boil. If foam forms on the top, you can remove it with a spoon. You may add a small amount of butter to reduce foam.
Step 5: Check thickness
Continue cooking and stirring. The jam will slowly become thicker. This can take about 20 to 30 minutes. To check if it is ready, place a small spoon of jam on a cold plate. Let it cool for one minute. Push it gently with your finger. If it wrinkles and does not run quickly, it is ready. If not, cook for a few more minutes and test again.
Step 6: Fill the jars
Carefully remove the hot jars from the boiling water using tongs. Pour the hot jam into the jars using a ladle. Leave about one centimeter space at the top. Wipe the edges of the jars with a clean cloth. Place the lids on top and close them tightly.
Step 7: Process the jars
Place the filled jars back into the large pot with boiling water. Make sure the water covers the jars completely. Boil them for about 10 minutes. This process helps seal the jars safely.
Step 8: Cool and store
Carefully remove the jars and place them on a towel. Let them cool at room temperature for 12 to 24 hours. You may hear a popping sound, which means the jars are sealing properly. After cooling, check the lids. If the center does not move when pressed, the jar is sealed. Store sealed jars in a cool and dark place.
Why This Recipe Is Special
This canning strawberry jam recipe is special because it uses simple and natural ingredients. There are no artificial colors or preservatives. You taste real strawberries in every spoon. Making jam at home also gives you full control over sweetness. If you prefer less sugar, you can reduce it slightly or use pectin to help thicken the jam.
Strawberries are full of vitamin C, fiber, and antioxidants. These nutrients help support your immune system and overall health. Even though jam contains sugar, using fresh fruit makes it better than many processed spreads. Homemade jam also saves money when strawberries are in season. You can buy them in bulk and store them for later use.
Another special point is the emotional value. Canning strawberry jam can become a family tradition. Children can help wash berries or stir the pot. It creates beautiful kitchen memories and teaches useful skills. Opening a jar months later feels rewarding and satisfying.
Extra Tips for Better Taste
Choose fully ripe strawberries for the best flavor. Ripe berries are red, sweet, and fragrant. Avoid berries that are too soft or moldy.
Add a little vanilla extract for a warm flavor. Just half a teaspoon can make a big difference.
If you enjoy a slight spice, add a small pinch of cinnamon. It gives the jam a cozy taste, especially in winter.
For a richer color and flavor, cook the jam slowly on medium heat instead of very high heat.
If you like chunky jam, mash only half of the strawberries and leave the rest in small pieces.
Always use fresh lemon juice. It not only improves taste but also helps the jam set properly.
Label your jars with the date. Homemade jam is best used within one year for the best quality.
Final Thoughts
Canning strawberry jam at home is a simple and joyful process. It helps you save the natural sweetness of fresh strawberries and enjoy them all year round. The method may look long at first, but once you try it, you will see how easy and satisfying it is. Homemade jam tastes fresher and more delicious than most store bought options. Whether you spread it on toast, mix it in yogurt, or use it in desserts, strawberry jam always brings a smile. Try this recipe once, and it may become a favorite tradition in your kitchen.
Nutrition Details
Below is an approximate nutrition table for the full recipe and per serving. This is based on 6 jars and about 20 servings per jar.
| Nutrition | Full Recipe | Per Serving |
|---|---|---|
| Calories | 12000 kcal | 100 kcal |
| Carbohydrates | 3000 g | 25 g |
| Sugar | 2800 g | 23 g |
| Fiber | 80 g | 0.6 g |
| Protein | 20 g | 0.2 g |
| Fat | 5 g | 0 g |
| Vitamin C | High amount | Moderate amount |
Serving size is about 1 tablespoon.
Please note that nutrition values are estimates and may change based on exact ingredients used.
Disclaimer
This recipe is shared for general information and cooking guidance. Everyone’s body is different, and nutritional needs may vary from person to person. If you have health conditions such as diabetes or food allergies, please consult a health professional before consuming high sugar foods like jam. Results and health effects may change depending on your personal diet and lifestyle.