There’s nothing quite like the rich, savory flavor of a perfectly cooked pot roast. For many families, it’s the ultimate comfort food – tender beef, hearty vegetables, and a deep broth that warms you from the inside out.
Canning pot roast allows you to capture that homestyle goodness and preserve it for months. It’s a great way to prepare ready-made meals in advance, save freezer space, and have a delicious dinner on hand for busy nights.
With the proper canning method, you’ll enjoy all the flavor and texture of fresh pot roast whenever you open a jar. This guide will walk you through the steps to safely and successfully can your own pot roast at home.
Cooking Time & Serving
-
Preparation time: 40 minutes
-
Processing (Canning) time: 75–90 minutes (depending on jar size)
-
Cooling time: 12–24 hours
-
Yield: About 6–8 pint jars (or 4–6 quart jars)
-
Serving size: 1 cup per person (approx.)
Ingredients for Canning Pot Roast
-
4–5 lbs beef chuck roast (or rump roast), trimmed of excess fat
-
2 tbsp vegetable oil (for browning meat)
-
6 medium carrots, peeled and cut into chunks
-
4 medium potatoes, peeled and cubed
-
2 large onions, sliced
-
4 cloves garlic, minced
-
6 cups beef broth (low sodium preferred)
-
2 tbsp tomato paste (optional, for richer flavor)
-
2 tsp salt (adjust to taste)
-
1 tsp black pepper
-
2 tsp dried thyme or rosemary (optional)
How to Make – Step-by-Step
-
Prepare Jars & Pressure Canner
-
Wash jars, lids, and bands in hot, soapy water. Keep jars warm until ready.
-
Set up your pressure canner with the recommended amount of water.
-
-
Brown the Meat
-
Cut roast into large cubes (about 2 inches).
-
Heat oil in a skillet and sear beef cubes until browned on all sides. This step adds flavor.
-
-
Prepare Vegetables
-
Wash, peel, and chop carrots, potatoes, and onions.
-
Lightly sauté onions and garlic for added depth (optional).
-
-
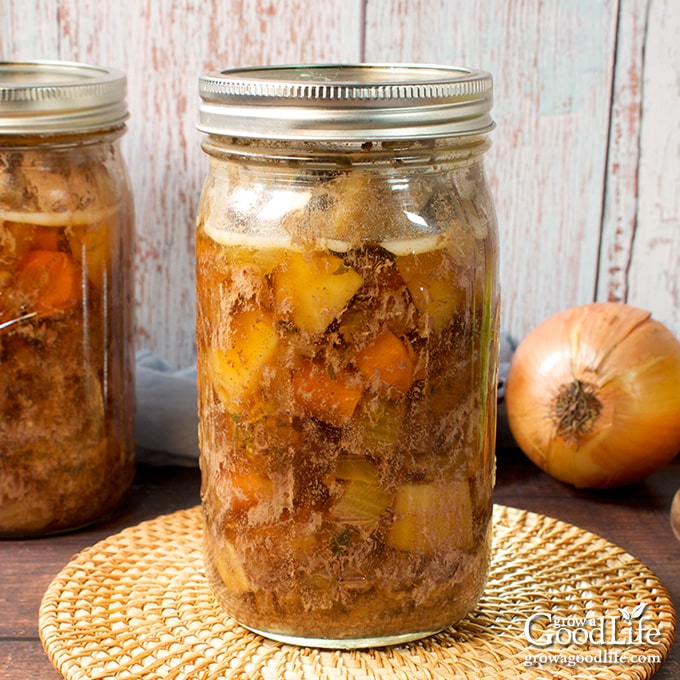
Pack the Jars
-
Layer beef chunks, carrots, potatoes, and onions into hot jars.
-
Add a clove of garlic or herb sprig if desired.
-
-
Add Liquid
-
Pour hot beef broth (mixed with tomato paste if using) into jars, leaving 1 inch of headspace.
-
Remove air bubbles with a non-metallic utensil and wipe rims clean.
-
-
Seal & Process
-
Place lids and rings on jars.
-
Process in a pressure canner:
-
Pints: 75 minutes at 10–11 PSI (adjust for altitude).
-
Quarts: 90 minutes at 10–11 PSI.
-
-
-
Cool & Store
-
Allow canner to depressurize naturally.
-
Remove jars and let sit undisturbed for 12–24 hours.
-
Check seals before storing in a cool, dark pantry.
-
Notes
-
Always use a pressure canner when canning meat for safety.
-
Avoid overpacking jars; leave enough liquid to cover ingredients.
-
Do not use thickeners (like flour or cornstarch) before canning – add them later when reheating if desired.
-
For best quality, use canned pot roast within 1 year.
FAQs
1. Can I use different cuts of beef?
Yes, chuck, rump, or round roasts work best for canning because they become tender during cooking.
2. Can I skip browning the beef?
Yes, but browning enhances flavor.
3. How do I reheat canned pot roast?
Simply pour contents into a pot and simmer until heated through. You can thicken the broth into gravy if desired.
4. Can I add other vegetables?
Green beans, celery, or mushrooms can be added, but stick to low-starch vegetables for best results.
Nutrition (Per 1 cup serving, approx.)
| Nutrient | Amount |
|---|---|
| Calories | 285 |
| Protein | 24 g |
| Carbohydrates | 18 g |
| Fat | 12 g |
| Fiber | 3 g |
| Sodium | 520 mg |
| Cholesterol | 65 mg |
Disclaimer
This recipe is intended for home cooks with basic canning knowledge. Always follow USDA pressure canning guidelines for safety. Consume in moderation, as pot roast is a hearty meal. If you have food allergies (beef, garlic, or nightshades like potatoes), substitute ingredients as needed.
I understand, that canning meat does not always call for a pressure cooker?