Introduction
There is something magical about the smell of warm apples, cinnamon, and sugar filling the air. It instantly brings back memories of cozy family kitchens, fall gatherings, and homemade desserts shared with love. Canning apple pie filling is one of those heartwarming recipes that not only fills your home with beautiful aromas but also helps you enjoy that fresh apple flavor all year round. This recipe allows you to prepare jars of apple pie filling in advance so you can make a pie anytime you want without peeling and slicing apples every single time.
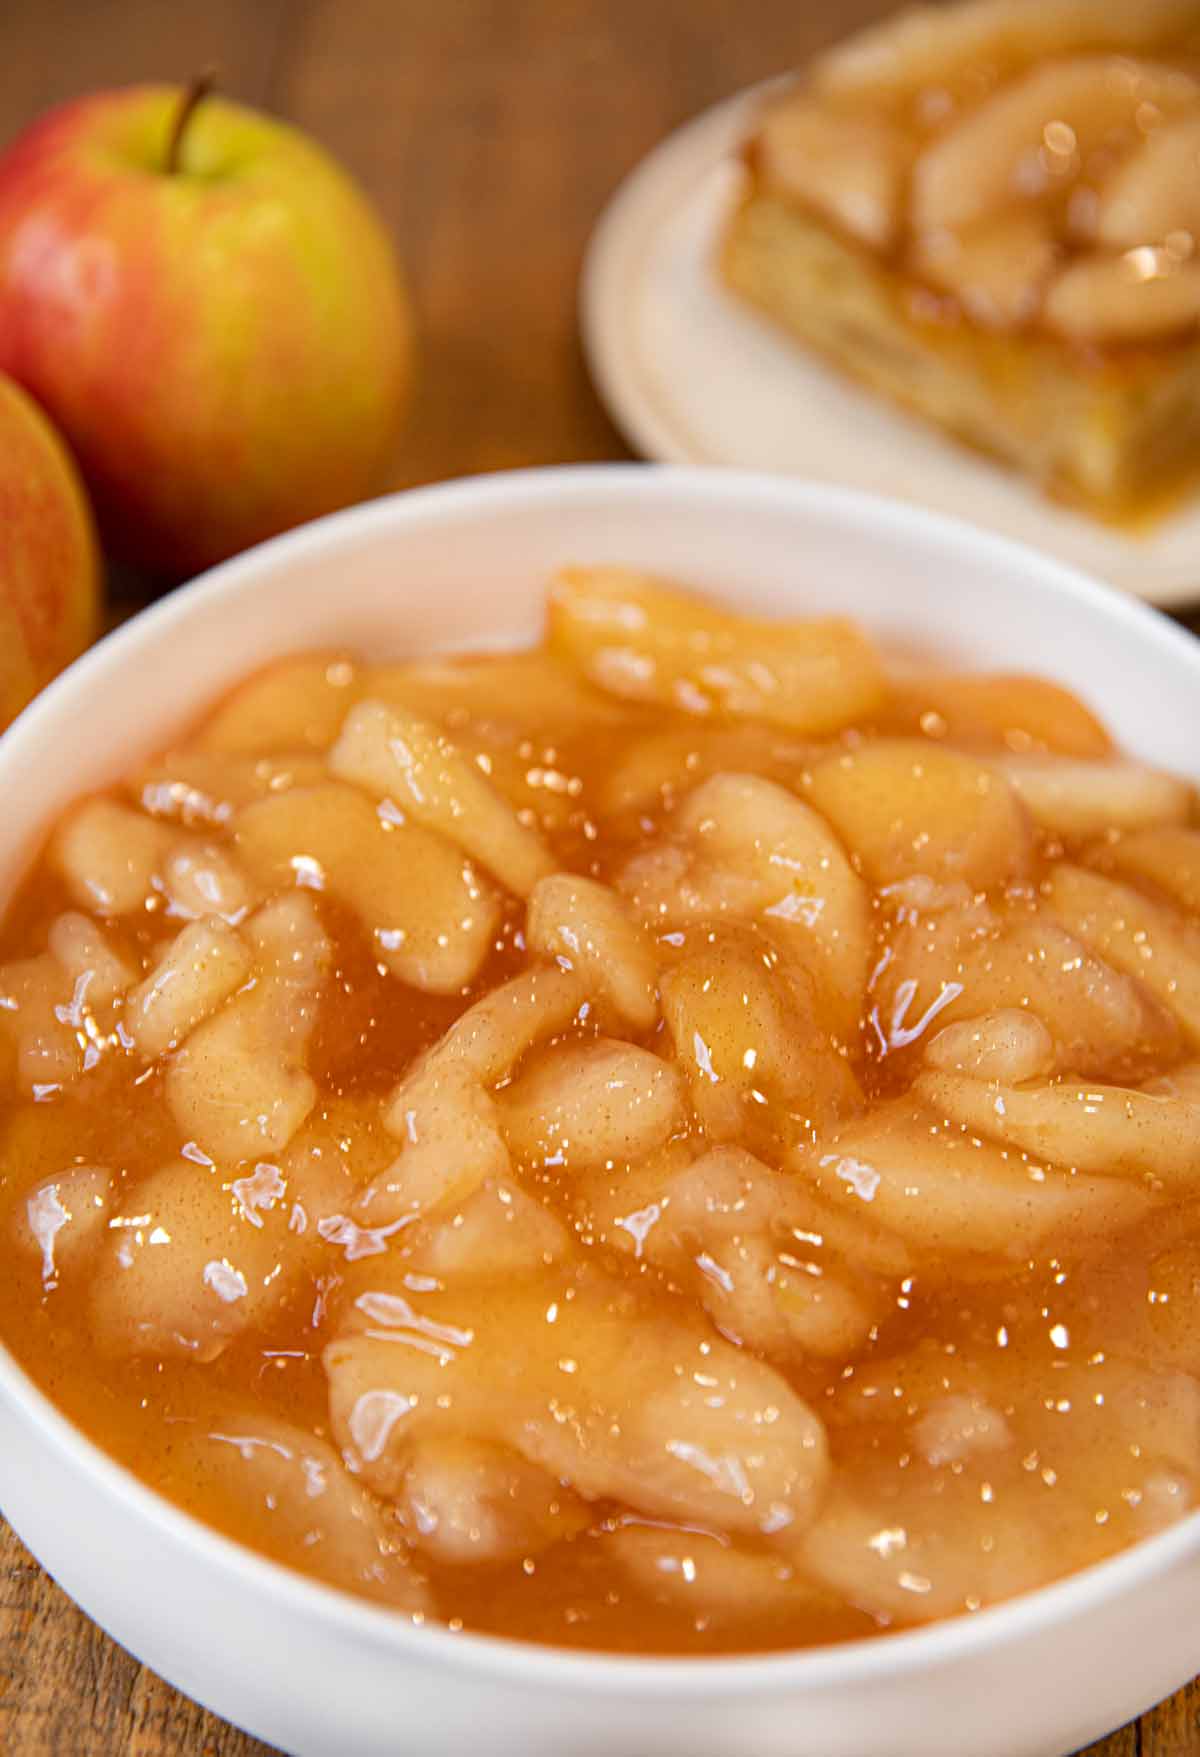
People love this recipe because it combines convenience and tradition. It feels wonderful to see neat rows of shiny jars filled with sweet apple filling on your pantry shelf, ready for pies, tarts, crisps, or even as a topping for pancakes and ice cream. Each jar captures the taste of autumn in the most delightful way. You will love how easy it is to open a jar, pour it into a pie crust, and bake a dessert that tastes fresh and homemade. This recipe truly brings comfort and joy with every bite.
Canning apple pie filling is not only about saving time but also about saving the season’s best fruit. When apples are at their peak, full of flavor and affordable, you can preserve them for months to come. It feels good to use fresh produce, know exactly what goes into your food, and reduce waste. Whether you are preparing for holidays, planning ahead for busy weeks, or just want to fill your shelves with something beautiful and useful, this recipe is the perfect choice. Making your own canned apple pie filling gives you control over the sweetness, the spices, and the texture so it always turns out just the way you like it.
Ingredients You Will Need
To make a big batch of delicious canned apple pie filling, you will need the following ingredients. These quantities make about 6 to 7 quarts of filling. You can adjust the amount depending on how many jars you want to prepare.
-
12 cups of peeled, cored, and sliced apples (about 6 pounds of fresh apples)
-
2 and 1 half cups of white sugar
-
1 cup of brown sugar
-
1 cup of cornstarch
-
1 tablespoon of ground cinnamon
-
1 teaspoon of ground nutmeg
-
1 teaspoon of salt
-
10 cups of water
-
3 tablespoons of lemon juice
-
1 teaspoon of vanilla extract (optional, for extra flavor)
-
Sterilized canning jars with lids and rings
When choosing apples, pick firm and slightly tart varieties like Granny Smith, Honeycrisp, or Fuji. These apples hold their shape well during cooking and provide a nice balance of sweetness and tang.
Step by Step Method
Making and canning apple pie filling is simple once you understand each step. Follow these directions carefully to make sure your filling is safe, delicious, and ready for long-term storage.
Step 1: Prepare the apples
Start by washing your apples in cool water to remove any dirt or residue. Peel the apples using a sharp peeler, remove the cores, and slice them into even pieces about half an inch thick. Try to keep all slices roughly the same size so they cook evenly. Place the sliced apples in a large bowl filled with water and a few tablespoons of lemon juice. This prevents the apples from turning brown while you prepare the rest of the ingredients.
Step 2: Prepare the thickening syrup
In a large heavy pot, combine the white sugar, brown sugar, cornstarch, cinnamon, nutmeg, and salt. Mix everything together until it looks smooth and even. Slowly add the 10 cups of water while stirring constantly so that the cornstarch dissolves without forming lumps. Place the pot over medium heat and cook the mixture until it begins to thicken. Stir often to prevent sticking. The syrup should turn glossy and smooth within about 10 minutes.
Step 3: Add lemon juice and flavor
Once the syrup has thickened, remove it from the heat and stir in the lemon juice and vanilla extract. The lemon juice helps preserve the color and freshness of the apples, while the vanilla adds a lovely aroma.
Step 4: Add the apples
Drain the sliced apples and gently add them into the thick syrup. Stir carefully to coat all the slices evenly without breaking them. Bring the mixture back to a gentle simmer for about 5 minutes to allow the apples to soften slightly. You do not need to cook them completely because they will finish cooking later when you bake your pies.
Step 5: Prepare your jars
While the filling is simmering, prepare your canning jars. Wash the jars, lids, and rings in hot soapy water and rinse them well. Place the jars in a large pot of hot water or a dishwasher on the heat cycle to keep them warm. This helps prevent the glass from cracking when you add the hot filling.
Step 6: Fill the jars
Using a clean ladle and a wide-mouth funnel, carefully fill each jar with the hot apple filling. Leave about one inch of headspace at the top of the jar. Use a non-metallic spatula or a small knife to remove any air bubbles by gently stirring around the edges of the jar. Wipe the rims with a damp paper towel to remove any spills or syrup. Place the lids on top and screw the rings until they are fingertip tight.
Step 7: Process the jars
Place the filled jars into a water bath canner with enough boiling water to cover the tops of the jars by at least one inch. Cover the pot with a lid and process the jars for 25 minutes if you live at sea level. If you live at a higher altitude, you may need to increase the time slightly according to standard canning guidelines.
Step 8: Cool and store
After processing, carefully lift the jars from the canner using tongs and place them on a clean towel. Let them cool for 12 to 24 hours without disturbing them. Once cooled, check that each lid has sealed properly. The center of the lid should be slightly indented and should not pop when pressed. Label your jars with the date and store them in a cool, dark place. Properly sealed jars can last up to one year.
Why This Recipe Is Special
This recipe is special because it captures the warm and cozy taste of homemade apple pie in a jar. Every spoonful has the perfect balance of sweet, tart, and spicy flavors. You can open a jar any time of the year and make a pie that tastes just like freshly baked autumn goodness. It saves time during busy days and allows you to enjoy a homemade dessert without extra effort.
Canning also reduces food waste because you can preserve apples that might otherwise spoil. It helps you use seasonal fruits at their freshest and lock in their nutrients. Since you are making it at home, you control the ingredients completely. There are no artificial preservatives or colors, just real apples, sugar, spices, and love.
This recipe is also great for people who want to make gifts from the heart. A jar of homemade apple pie filling tied with a ribbon makes a beautiful and thoughtful gift for friends, neighbors, or family members during holidays or celebrations. It shows care, effort, and creativity.
Extra Tips for Better Taste
-
Mix apple types: Combine different apple varieties for a richer flavor. For example, use half tart apples like Granny Smith and half sweet ones like Fuji or Honeycrisp.
-
Add a touch of butter: A small spoon of butter added to the pie before baking gives a silky texture and enhances the taste.
-
Try extra spices: If you love bold flavors, try adding a pinch of ground cloves, ginger, or allspice. These spices make your filling smell like a holiday dessert.
-
Use clear jars: Choose clear glass jars so you can admire the golden apple filling on your shelf. It looks beautiful and inviting.
-
Add raisins or cranberries: For a festive twist, add a handful of raisins or dried cranberries before canning. They absorb the syrup and add extra sweetness.
-
Reduce sugar if you prefer: If you like a lighter taste, you can reduce the sugar slightly. The lemon juice and cinnamon still keep the flavor bright.
-
Always use quality lids: Proper sealing is very important for safety. Replace lids every time you reuse jars to ensure a perfect seal.
-
Bake smart: When making a pie, use the filling directly from the jar. Do not overfill your crust. Bake until golden brown and bubbly for the perfect texture.
Final Thoughts
Canning apple pie filling is more than just a kitchen project. It is a way to connect with tradition, preserve the taste of fresh apples, and bring sweetness to future days. Once you learn the process, it becomes a comforting yearly routine, especially during apple season. You will feel proud seeing your jars lined up, knowing that you created something natural, delicious, and made with care.
Whenever you crave a warm dessert, all you need is a jar of your homemade filling, some pie crust, and a cozy evening to enjoy a slice of happiness. Whether it is a family dinner, a weekend treat, or a gift for a friend, your canned apple pie filling will always bring smiles and warmth to the table.
Nutrition Details
Below is an approximate nutrition breakdown for one serving (about one cup of apple pie filling). Actual values may vary based on the type of apples and sugar used.
| Nutrient | Amount per Serving |
|---|---|
| Calories | 190 kcal |
| Carbohydrates | 47 g |
| Protein | 0.5 g |
| Fat | 0.2 g |
| Fiber | 3 g |
| Sugar | 36 g |
| Sodium | 50 mg |
| Vitamin C | 6 mg |
| Calcium | 10 mg |
| Potassium | 120 mg |
This filling is naturally low in fat and cholesterol-free. It provides dietary fiber and vitamin C from the apples, which support digestion and immunity. Enjoy it in moderation as part of a balanced diet.
Disclaimer
This recipe is for general use and enjoyment. Everyone’s body is different, and nutritional needs can vary. If you have allergies, dietary restrictions, or medical conditions, please adjust the ingredients to suit your personal health needs. Always consult your doctor or nutrition expert if you are unsure about certain foods.
Please tell me what is clear gel ?