Making your own bread at home is one of the most rewarding things you can do in your kitchen because it fills your house with a smell that nothing else can match. This specific recipe is all about creating a loaf that feels like it came from an old bakery in the countryside where everything is made by hand and with lots of love. Sourdough is special because it does not use the quick packets of yeast you buy at the store but instead relies on a natural starter that you grow yourself over time. This process is called wild fermentation and it gives the bread a deep flavor that is slightly tangy and very satisfying to eat with almost any meal you can imagine. When you follow this guide you will learn how to turn simple flour and water into a masterpiece that has a very crunchy outer layer and a soft airy middle part that melts in your mouth. You do not need to be an expert chef to master this because we are going to break down every single part of the process into very easy steps that anyone can follow regardless of their past cooking skills or kitchen experience.
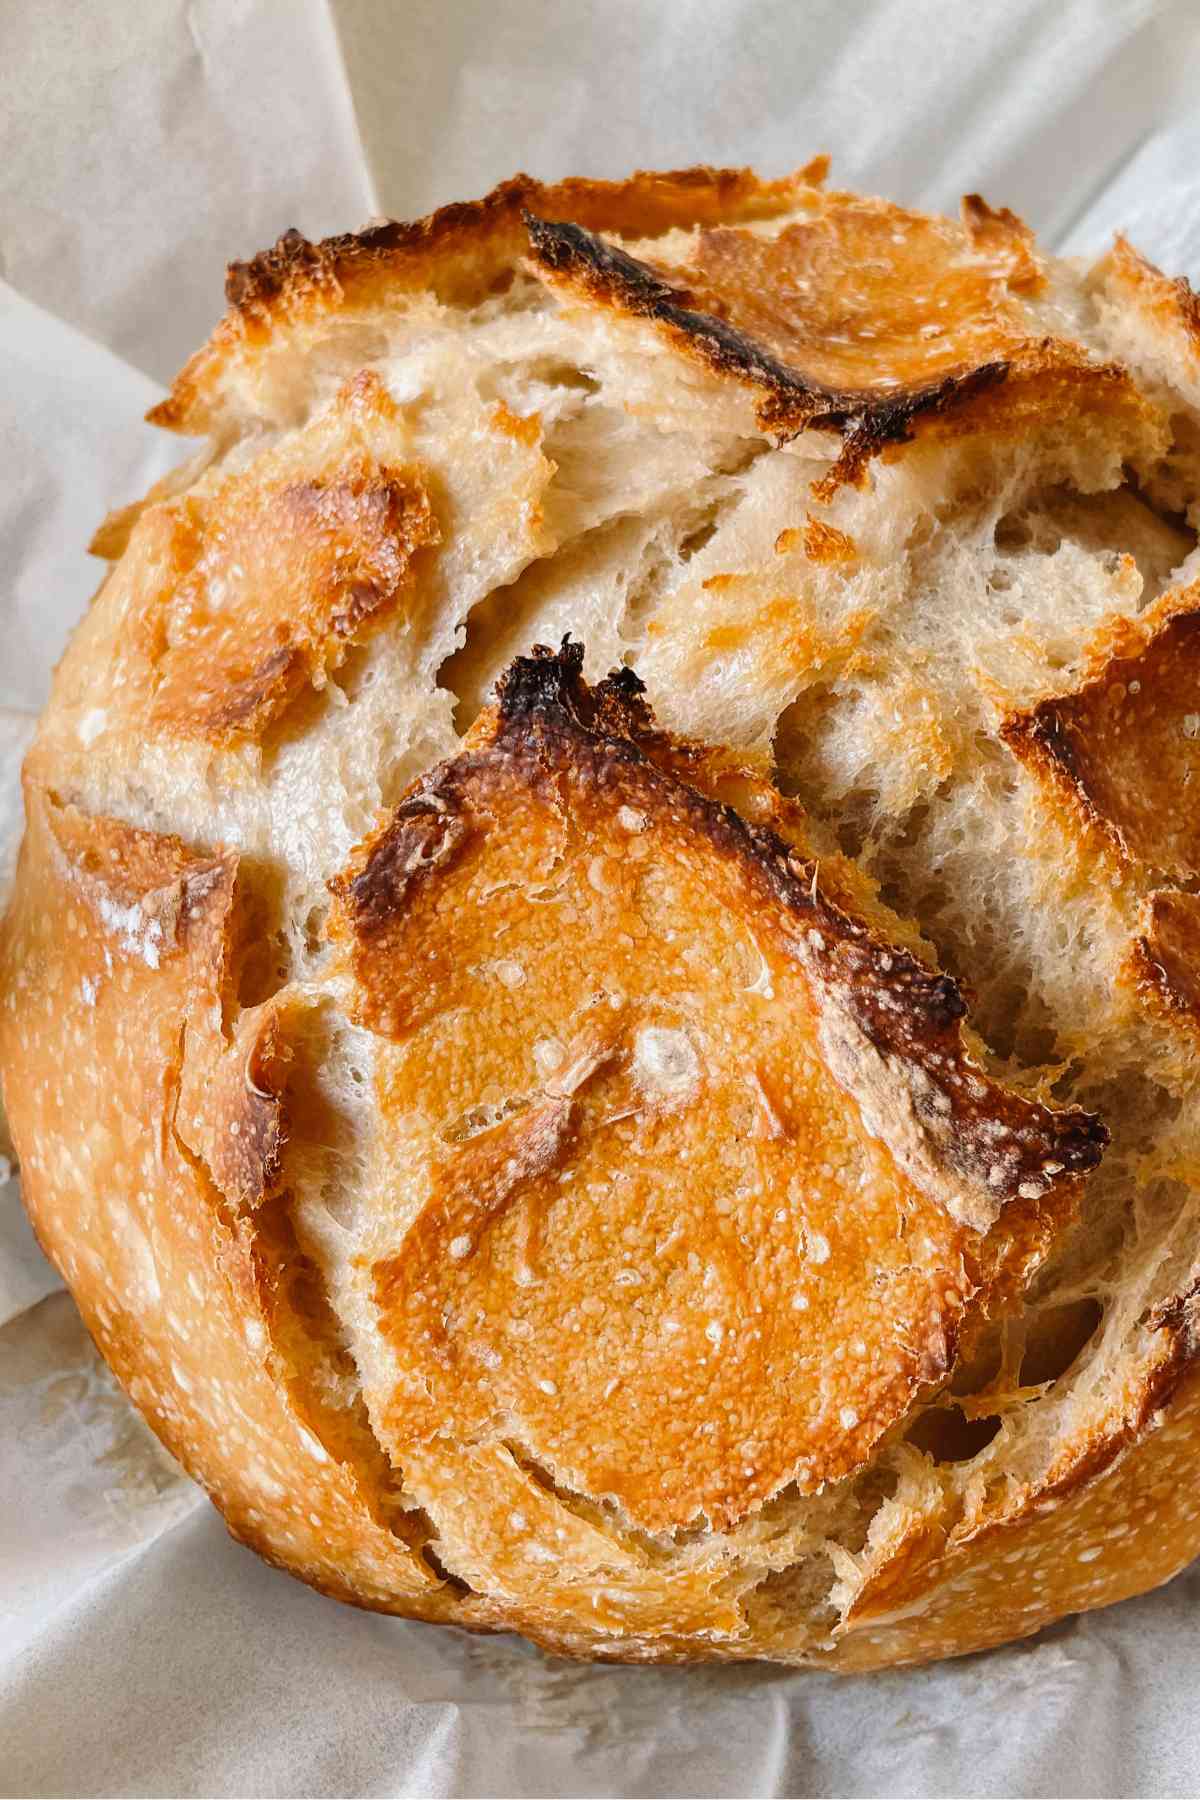
People absolutely love sourdough bread because it offers a texture and a taste that you simply cannot find in the soft white bread sold at most local grocery stores today. There is something truly magical about the way the crust shatters when you bite into it while the inside remains chewy and moist enough to soak up butter or olive oil perfectly. Many people also enjoy the process of making it because it teaches you how to be patient and how to appreciate the slow way of doing things in a world that usually moves way too fast. It is a hobby that connects you to history since humans have been baking bread this way for thousands of years before modern technology changed how we produce our food. When you pull a fresh loaf out of the oven and see that golden brown color you feel a massive sense of pride because you created something beautiful from almost nothing at all. It is the ultimate comfort food that brings people together around the dinner table to share a warm slice and talk about their day in a cozy atmosphere.
You should make this bread whenever you want to treat yourself or your family to something that is both delicious and much better for your body than processed snacks. Many people choose sourdough because the long fermentation process helps break down the gluten and the grains which often makes it much easier for your stomach to digest without feeling bloated. If you are someone who cares about fitness or healthy eating you will appreciate that this recipe uses very simple ingredients without any hidden chemicals or weird preservatives that you find in factory bread. It is also the perfect project for a rainy weekend or a lazy Sunday when you have some extra time to stay home and enjoy the rhythmic motions of mixing and folding the dough. Whether you are celebrating a special occasion or just want to make a Tuesday lunch feel a bit more fancy this rustic loaf is the best way to add a touch of artisanal quality to your life. The taste is so much more complex than regular bread because the natural acids created during the rise add layers of flavor that keep you coming away for another bite every single time.
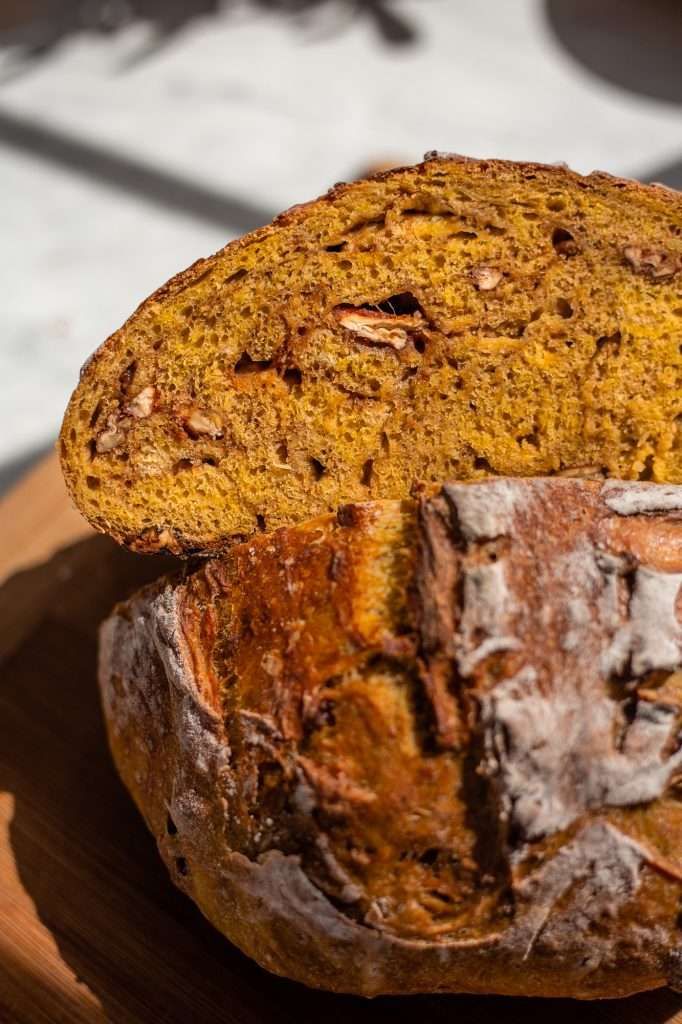
There is a deep emotional connection that comes with baking bread because it is an act of service and kindness for the people you care about most in your life. Giving a warm loaf of sourdough to a neighbor or a friend is a wonderful way to show them that you are thinking of them and that you put effort into making something special just for them. It is also a great way to save money over time because flour is very cheap and one single bag can make many loaves of high quality bread that would cost a lot of money at a fancy cafe. Once you get used to the rhythm of feeding your starter and watching the bubbles grow you will find that it becomes a peaceful part of your weekly routine that helps you relax. This recipe focuses on the unloaf style which means we want it to look natural and a bit wild rather than perfectly round or shaped like a brick from a machine. We want those big air pockets and that rugged look because it shows that the bread is alive and full of character which is exactly what makes sourdough so famous around the entire world.
Ingredients You Will Need
-
Active Sourdough Starter: 100 grams (ensure it is bubbly and fed)
-
Warm Water: 350 grams (use filtered water if possible for better results)
-
Bread Flour: 500 grams (high protein flour works best for structure)
-
Sea Salt: 10 grams (fine grain salt mixes more evenly into dough)
-
Extra Flour: 50 grams (keep this nearby for dusting your work surface)
-
Rice Flour: 20 grams (optional for dusting the proofing basket to prevent sticking)
Step by Step Method
The first thing you need to do is make sure your sourdough starter is ready to work by feeding it a few hours before you start so it is very bubbly and active. Take a large glass bowl and pour in your warm water then add the sourdough starter and stir it gently with a spoon until the starter mostly dissolves and looks like milky water. Now you can add all of your bread flour into the bowl and use your hands or a sturdy spatula to mix everything together until no dry spots of flour remain. This will create a shaggy and messy ball of dough which is exactly what you want at this early stage so do not worry about it looking smooth yet. Cover the bowl with a clean damp cloth and let it rest for about thirty minutes which is a process called autolyse that helps the flour absorb the water fully.
After the rest is over you should sprinkle your salt over the top of the dough and use your fingers to dimple it in and then squeeze the dough to mix the salt thoroughly. Now instead of traditional kneading we are going to use a technique called stretch and fold which is much easier and keeps the air inside the dough. Reach under one side of the dough and pull it up high and then fold it over into the center then rotate the bowl and do this three more times until you have gone all the way around. Cover the bowl again and wait thirty minutes then repeat this stretching and folding process every half hour for a total of four times over two hours. You will notice that the dough becomes much smoother and stronger each time you do this because the gluten bonds are growing and getting organized.
Once the folds are done you need to let the dough sit undisturbed in a warm spot for about four to six hours which is known as the bulk fermentation. During this time the natural yeast will eat the sugars in the flour and create gas which makes the dough grow in size and look much puffier than before. You are looking for the dough to increase by about fifty percent in volume and you might see some small bubbles forming on the surface which is a great sign. Gently tip the dough out onto a lightly floured surface being careful not to pop all those beautiful air bubbles you worked so hard to create. Fold the edges of the dough into the middle to create a round shape and then let it rest on the counter for twenty minutes to relax the surface.
Now it is time for the final shaping where you will pull the dough toward you on the table to create tension on the outer skin which helps it hold its shape in the oven. Place the dough upside down into a proofing basket or a bowl lined with a floured towel and put it in the fridge overnight for a cold ferment. This long cold rest is the secret to getting that amazing tangy sourdough flavor and makes the dough easier to score with a knife later on. The next morning place a heavy pot with a lid into your oven and heat it to 230 degrees Celsius for at least forty five minutes so it is screaming hot. Carefully flip your cold dough onto a piece of parchment paper and use a very sharp blade to cut a deep line across the top to help it expand.
Lift the paper and the dough into the hot pot and put the lid back on quickly to trap the steam which is what creates that thin and crispy crust. Bake the bread with the lid on for twenty minutes and then remove the lid and bake for another twenty minutes until the top is a dark golden brown color. It might be tempting to cut into it right away but you must wait at least one hour for the bread to cool down completely on a wire rack. If you cut it while it is hot the steam will escape and the inside might turn gummy so be patient and let the cooking process finish outside the oven. Once it is cool you can slice it up and enjoy the best bread you have ever tasted in your entire life.
Why This Recipe Is Special
This recipe is special because it uses the power of nature to create a food that is both ancient and modern at the same time. Unlike store bread that has sugar and oils this loaf is pure and only contains three main ingredients which are flour and water and salt. The long fermentation time allows the good bacteria to work their magic which lowers the glycemic index of the bread and means it won’t spike your blood sugar as fast as other breads. It also tastes much better because the wild yeast produces a variety of flavors that are nutty and sour and earthy all at once. The crust becomes very thick and caramelized which provides a great contrast to the soft and airy interior that feels light when you eat it. It is a recipe that rewards your time and attention with a level of quality that you simply cannot buy in a plastic bag.
Extra Tips for Better Taste
If you want to take your bread to the next level you can try adding some roasted garlic or fresh rosemary into the dough during the folding stage for a savory twist. Using a mix of different flours like adding a little bit of whole wheat or rye flour can also make the taste much deeper and more interesting. Make sure your oven is truly hot before you put the bread in because a cold oven will lead to a flat loaf that does not rise well. You can also spray a little bit of water into the pot before closing the lid to create even more steam for a shinier and more blistered crust. If you like a very sour taste let the dough sit in the fridge for two full days instead of just one night to let the acids develop even more. Always store your finished bread in a paper bag or a bread box rather than plastic to keep the crust from getting soft and soggy.
Final Thoughts
Baking sourdough is a journey that starts with a simple mix of flour and water and ends with a beautiful loaf that you can be proud to share with your family. It might seem a little bit scary at first but once you see the dough rising and smell it baking you will realize how easy and fun it can be. This unloaf method is perfect for beginners because it celebrates the natural and rustic look of handmade bread rather than chasing perfection. Every loaf you bake will get better as you learn how the dough feels and how your oven works so do not be afraid to keep practicing. Enjoy every slice and remember that the best ingredient in any kitchen is the patience and care you put into your cooking.
Nutrition Details
This table shows the approximate values for one medium slice of this sourdough bread which is about 50 grams in weight.
| Nutrient | Amount Per Serving |
| Calories | 120 kcal |
| Total Fat | 0.5 grams |
| Sodium | 200 mg |
| Total Carbohydrates | 24 grams |
| Dietary Fiber | 1.5 grams |
| Sugars | 0 grams |
| Protein | 4 grams |
| Calcium | 4 mg |
| Iron | 1.5 mg |
Disclaimer
Please remember that everyone has a different body and different health needs so the way you react to sourdough might be different from others. While many people find sourdough easier to digest it still contains gluten and is not suitable for people with celiac disease or severe gluten allergies. The nutrition facts are estimates based on standard ingredients and your specific results may change depending on the brand of flour you use or how large your slices are. Always talk to a doctor or a nutrition expert if you have specific questions about your diet or how certain foods affect your health. This recipe is meant for educational and enjoyment purposes and results can vary based on your kitchen environment and local climate.