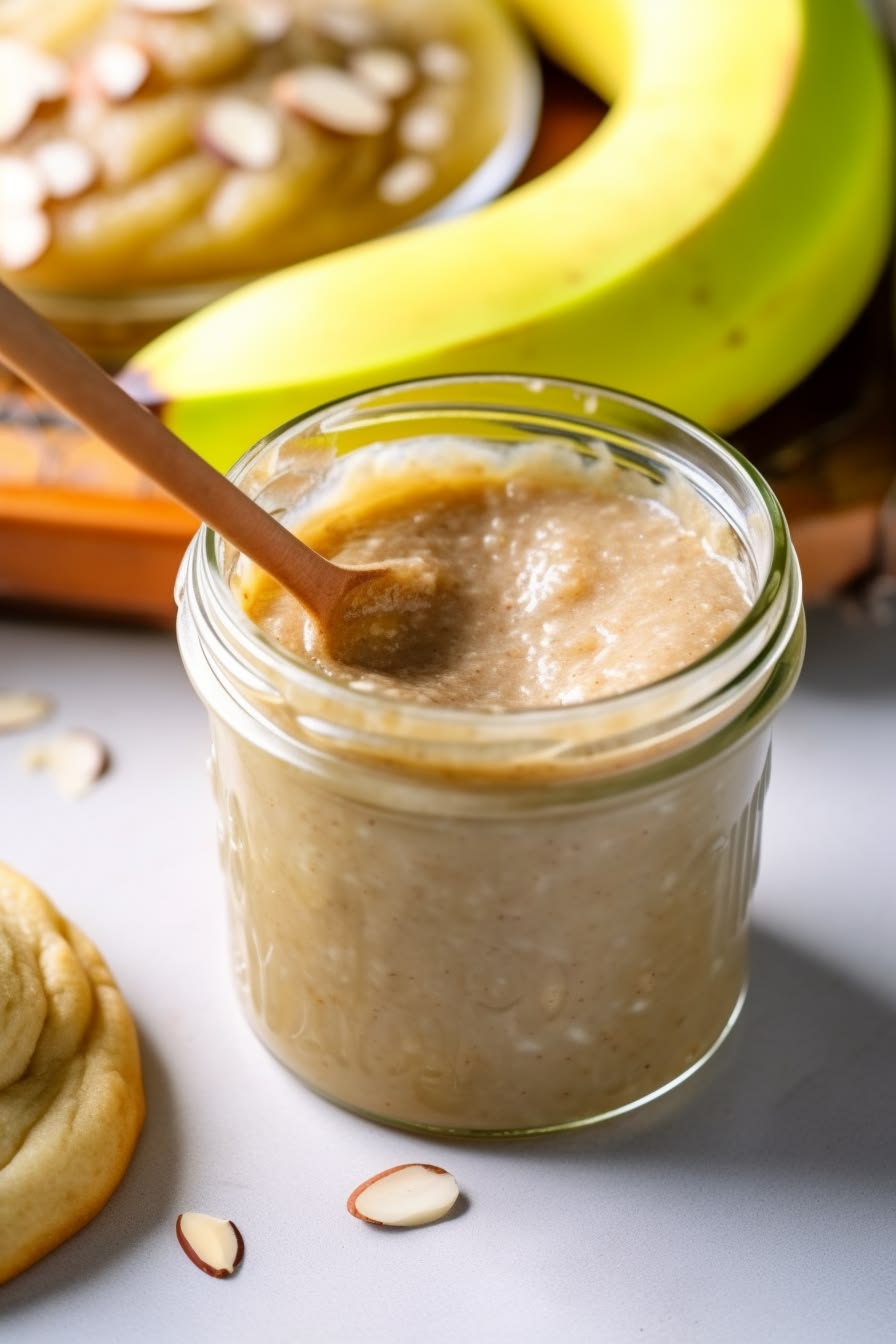
Imagine a warm kitchen filled with the rich aroma of sweet fruit caramelizing on the stove while the gentle sound of bubbling pots creates a cozy rhythm for your afternoon. This canning banana butter recipe is all about taking everyday fruit that might otherwise go to waste and turning it into a luxurious spread that feels like a warm hug in a jar. Many people are familiar with apple butter or pumpkin butter but this beautiful banana version brings a totally unique tropical sweetness and a velvety texture that is unmatched by almost any other fruit preserve. Making fruit butter is a time honored tradition that allows you to capture the peak flavors of the season and preserve them so you can enjoy a taste of sunshine even during the darkest winter days. This recipe is designed to be incredibly approachable for beginners who have never tried canning food before because the steps are straightforward and the results are instantly rewarding for your efforts. By spending a little time in your kitchen with a few simple tools you can create a pantry staple that will elevate your breakfast game and bring immense joy to your family.
People absolutely love this recipe because it transforms a very common grocery item into something that tastes complex and high end without requiring any expensive or rare ingredients. There is a deep comfort in the flavor profile of cooked bananas especially when they are paired with warm spices like cinnamon and a touch of brown sugar to create a deep caramel undercurrent. Friends and neighbors will be amazed when you gift them a jar of this golden spread because it is not something you can easily buy on the shelves of a standard supermarket. It has a beautiful thick consistency that spreads like silk over hot toast melts beautifully into warm oatmeal and acts as the perfect filling for homemade pastries or cakes. Parents appreciate how much their children adore the natural sweetness of this butter which makes it a fantastic alternative to highly processed spreads that are loaded with artificial preservatives and dyes. The pure satisfaction of hearing that classic popping sound from the jar lids as they seal properly on your counter is another reason why home cooks fall completely in love with this traditional preserving process.
The best time to make this rich banana butter is when you find yourself with a large counter full of speckled brown bananas that are ripening much faster than your family can possibly eat them. Instead of letting that precious fruit go bad or forcing yourself to bake yet another loaf of banana bread this canning project offers an exciting and delicious alternative to reduce your food waste. It is also a wonderful weekend activity to share with loved ones when you want to slow down and connect over the simple art of scratch cooking away from the screens and distractions of modern life. Many fitness enthusiasts love making this spread because it provides a concentrated burst of natural energy from the fruit carbohydrates which makes it an excellent pre workout fuel when spread on a slice of whole grain toast. Emotionally there is a profound sense of security and pride that comes from looking at a shelf full of your own handmade preserves knowing you made them with your own two hands. Whether you are prepping for a cozy autumn season ahead or looking for a creative DIY holiday gift that carries real meaning this recipe fits the bill beautifully.
When you take your first taste of this warm butter right from the cooking pot you will understand exactly why this recipe is worth every single minute of stirring and waiting. The flavor is a beautiful balance of tropical fruit notes wrapped in a cozy blanket of brown sugar and spice that lingers on your tongue in the most comforting way possible. It is the type of recipe that connects us to older generations who understood the value of preserving food and making the absolute most of every single ingredient in the house. As you become more confident with the basic steps you will find that canning is not a scary science but a joyful craft that allows you to be creative while filling your home with incredible scents. This article will walk you through every tiny detail so you never feel lost or confused even if you have never held a canning jar in your hands before today. Get ready to transform your kitchen into a sweet smelling fruit boutique and create a delicious spread that will make every single breakfast feel like a special celebration.
Ingredients You Will Need
To create a beautiful batch of this thick sweet fruit spread you will want to gather the following fresh ingredients and pantry staples:
-
Sixteen large very ripe bananas with plenty of brown spots on the skin
-
Four cups of firmly packed light brown sugar
-
One half cup of freshly squeezed lemon juice to balance the acidity
-
Two teaspoons of ground sweet cinnamon
-
One half teaspoon of ground aromatic nutmeg
-
One half cup of pure apple juice or filtered water to help with blending
Step by Step Method
The process of making this rich fruit butter is broken down into simple sections so you can follow along easily and achieve a perfect set every single time. Start by washing your hands and making sure all of your cooking pots spoons and glass jars are completely clean and free of any soap residue.
Peel all sixteen of your ripe bananas and place the soft fruit into a large mixing bowl or directly into your heavy bottomed cooking pot. Use a sturdy potato masher or a large fork to crush the bananas until they form a mostly smooth puree with no large chunks remaining in the mix.
Add the one half cup of pure apple juice or filtered water to the bananas to help loosen the mixture and ensure it does not stick to the bottom of your pot when you first turn on the heat. Pour the one half cup of freshly squeezed lemon juice over the top of the fruit mash immediately because the natural acid will help stop the bananas from turning an unappealing dark grey color as they meet the air.
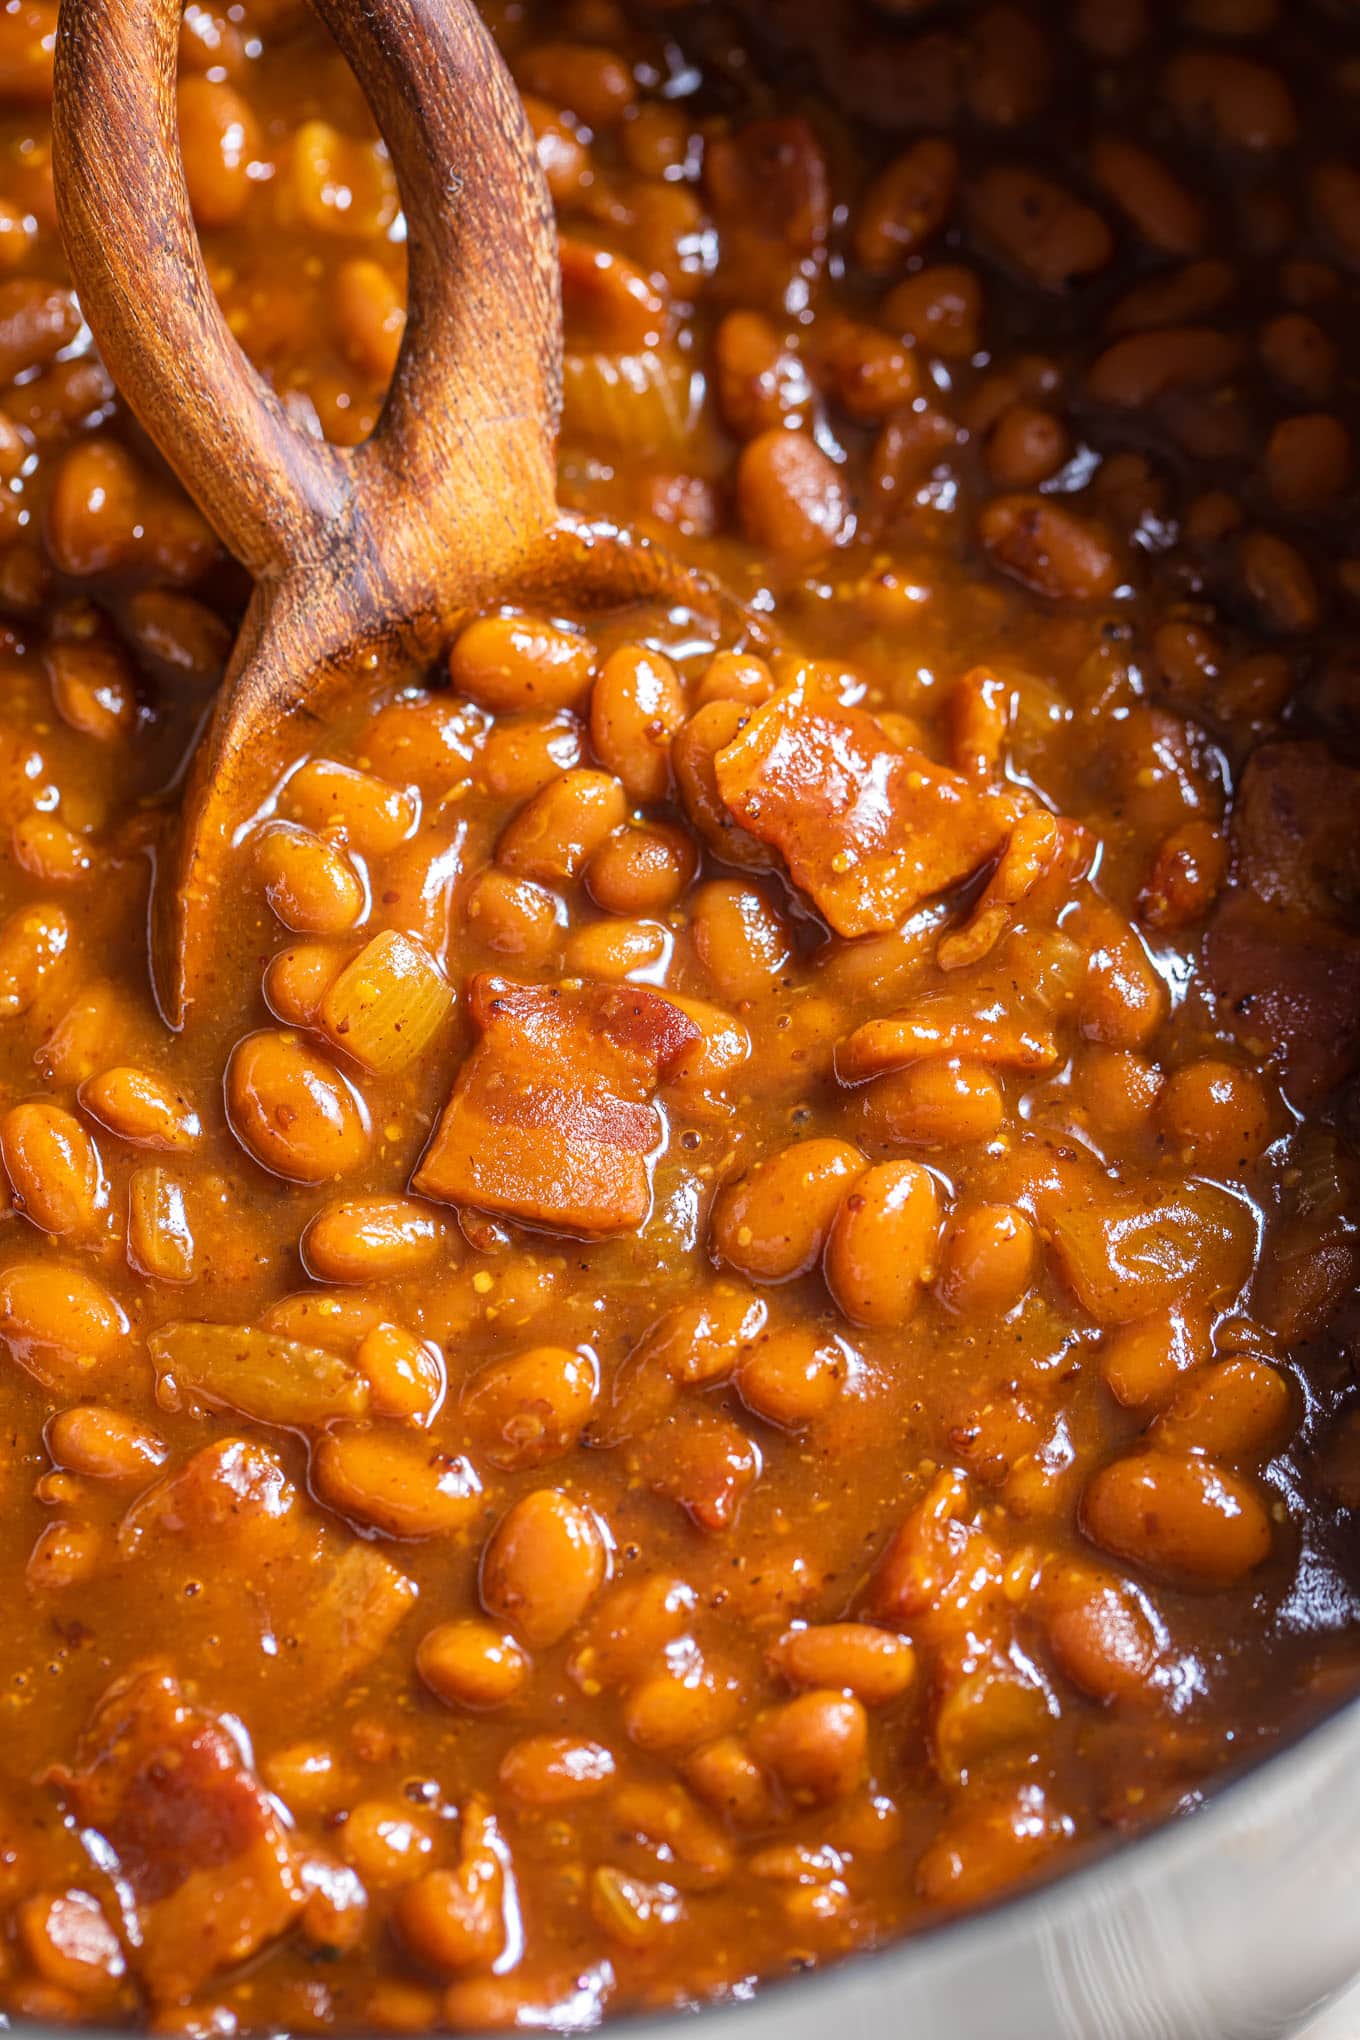
Measure out your four cups of firmly packed light brown sugar along with your two teaspoons of ground sweet cinnamon and one half teaspoon of ground aromatic nutmeg and stir them into the banana mixture until everything is fully combined. Turn your stove burner to a medium heat setting and bring the sweet pot to a gentle boil while stirring constantly with a long wooden spoon or a heat resistant spatula.
Once the mixture begins to bubble reduce the heat to low so that the banana butter is just simmering very gently rather than splashing out of the pot which can cause painful burns. You will need to stand by the stove and stir the pot every few minutes for about forty five minutes to an hour as the moisture evaporates and the sugar begins to caramelize into a deep golden brown color.
As the butter cooks down it will become much thicker and glossy and you can tell it is ready when you scoop up a spoonful and it holds its shape on the spoon without running off quickly. While the butter is finishing its cooking time prepare your water bath canner by filling a very large deep pot with enough water to cover your glass jars by at least one inch and bringing that water to a steady boil.
Place your clean glass pint jars or half pint jars into the hot water for a few minutes to warm them up so they do not crack when you pour the hot banana mixture inside them. Carefully lift the warm jars out of the water using jar lifting tongs and place them on a clean towel spread out on your kitchen counter.
Ladle the hot cooked banana butter into the warm jars while leaving exactly one half inch of empty space at the top of each jar which is known as headspace. Run a clean plastic utensil or a small spatula down the inside walls of each filled jar to release any trapped air bubbles that might be hiding in the thick fruit spread.
Take a clean damp paper towel and wipe the rims of the glass jars very carefully to remove any sticky drops of sugar or fruit because a dirty rim will prevent the lids from sealing properly. Place a clean flat metal lid on top of each jar and screw the metal bands down until they are just fingertip tight which means you do not force them on too hard.
Use your jar tongs to lower the filled glass jars back into the boiling water bath canner making sure they sit upright and do not touch each other on the bottom rack. Cover the large pot with its lid and let the jars process in the boiling water for exactly fifteen minutes if you live at a standard altitude.
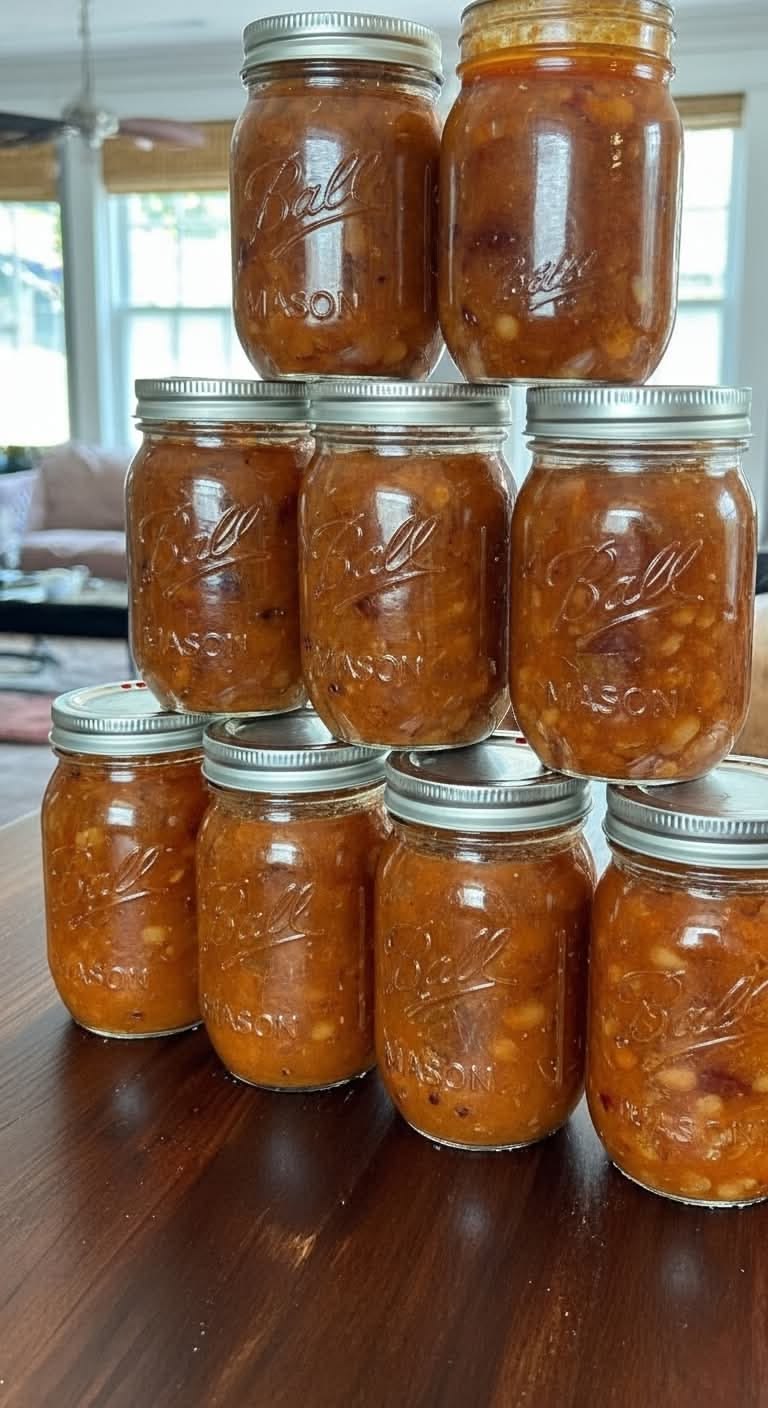
Once the fifteen minutes are up turn off the heat and remove the pot lid then let the jars sit in the hot water for five additional minutes to acclimate to the temperature change. Carefully lift the hot jars out of the canner and place them back onto the towel on your counter where they should remain completely undisturbed for twenty four hours.
As the jars cool you will hear a wonderful high pitched popping sound which indicates that a proper vacuum seal has been formed successfully. After a full day has passed check the lids by pressing the center of each one to ensure they do not move up and down before storing your beautiful homemade preserves in a cool dark pantry.
Why This Recipe Is Special
This particular recipe is incredibly special because it brings a completely fresh perspective to the world of home canning by highlighting a fruit that is often ignored in traditional pantry preservation. The intense cooking process concentrates the natural sugars of the banana which means you get a much deeper flavor profile than you would by simply eating a raw piece of fruit.
From a health standpoint bananas are famous for containing high amounts of potassium which is a vital mineral that helps support healthy heart function and regulates blood pressure levels throughout your body. They also provide a great source of vitamin B6 which plays a crucial role in maintaining good brain health and keeping your immune system running at its absolute best every day.
Because we use real spices like cinnamon and nutmeg this recipe fills your diet with natural antioxidants that help fight inflammation without relying on synthetic chemicals or additives. The inclusion of fresh lemon juice not only ensures the safety and longevity of the canned product but also cuts through the heavy sweetness of the sugar to create a wonderfully bright finish.
This recipe is also a beautiful example of sustainable cooking because it actively prevents perfectly good food from going into the trash bin when produce ripens faster than your household can manage. It allows beginner cooks to experience the deep satisfaction of creating an artisan style product that can elevate simple meals into gourmet experiences without needing advanced culinary skills.
Extra Tips for Better Taste
To make your homemade fruit spread even more delightful you can experiment with adding a splash of pure vanilla extract right at the very end of the cooking process after you turn off the stove heat. If you enjoy a rich bakery style flavor profile you can substitute a portion of the brown sugar with dark molasses sugar to create a deeper gingerbread effect that pairs beautifully with cold autumn mornings.
For those who love a bit of texture try folding in a half cup of finely chopped toasted pecans or walnuts right before you ladle the butter into your glass jars for processing. You can also create a tropical twist by adding a few tablespoons of unsweetened shredded coconut to the pot during the last ten minutes of simmering to give the spread a delightful chew.
Always make sure to use bananas that have plenty of black or brown spots on their yellow skins because green or perfectly yellow bananas do not have enough natural sugars or fruit sugars developed to create the proper rich texture. If you find that your butter is splattering too much during the cooking phase simply place a screen cover or a tilted lid over the pot to keep your kitchen clean while still allowing steam to escape.
Final Thoughts
Stepping into the world of home canning can feel like a big adventure but this simple banana butter recipe proves that making your own preserves can be a thoroughly relaxing and successful project. There is nothing quite like the feeling of opening a jar of your own handmade spread months down the road and sharing that sweet tropical flavor with the people you care about most. We hope this guide inspires you to look at overripe fruit with excitement rather than frustration and helps you build real confidence in your homesteading journey. Enjoy the process of stirring your pot appreciate the sweet aromas dancing through your home and savor every single delicious bite of your new pantry creation.
Nutrition Details
Disclaimer
Please take note that every single person has a unique biological makeup and individual health needs meaning your body might react differently to certain foods than others do. While home canning is a wonderful and safe hobby when instructions are followed exactly you should always practice clean kitchen habits to ensure food safety standards are met. This recipe and article are meant for general educational and informational enjoyment and should never be taken as professional medical or nutritional advice from a licensed healthcare provider.