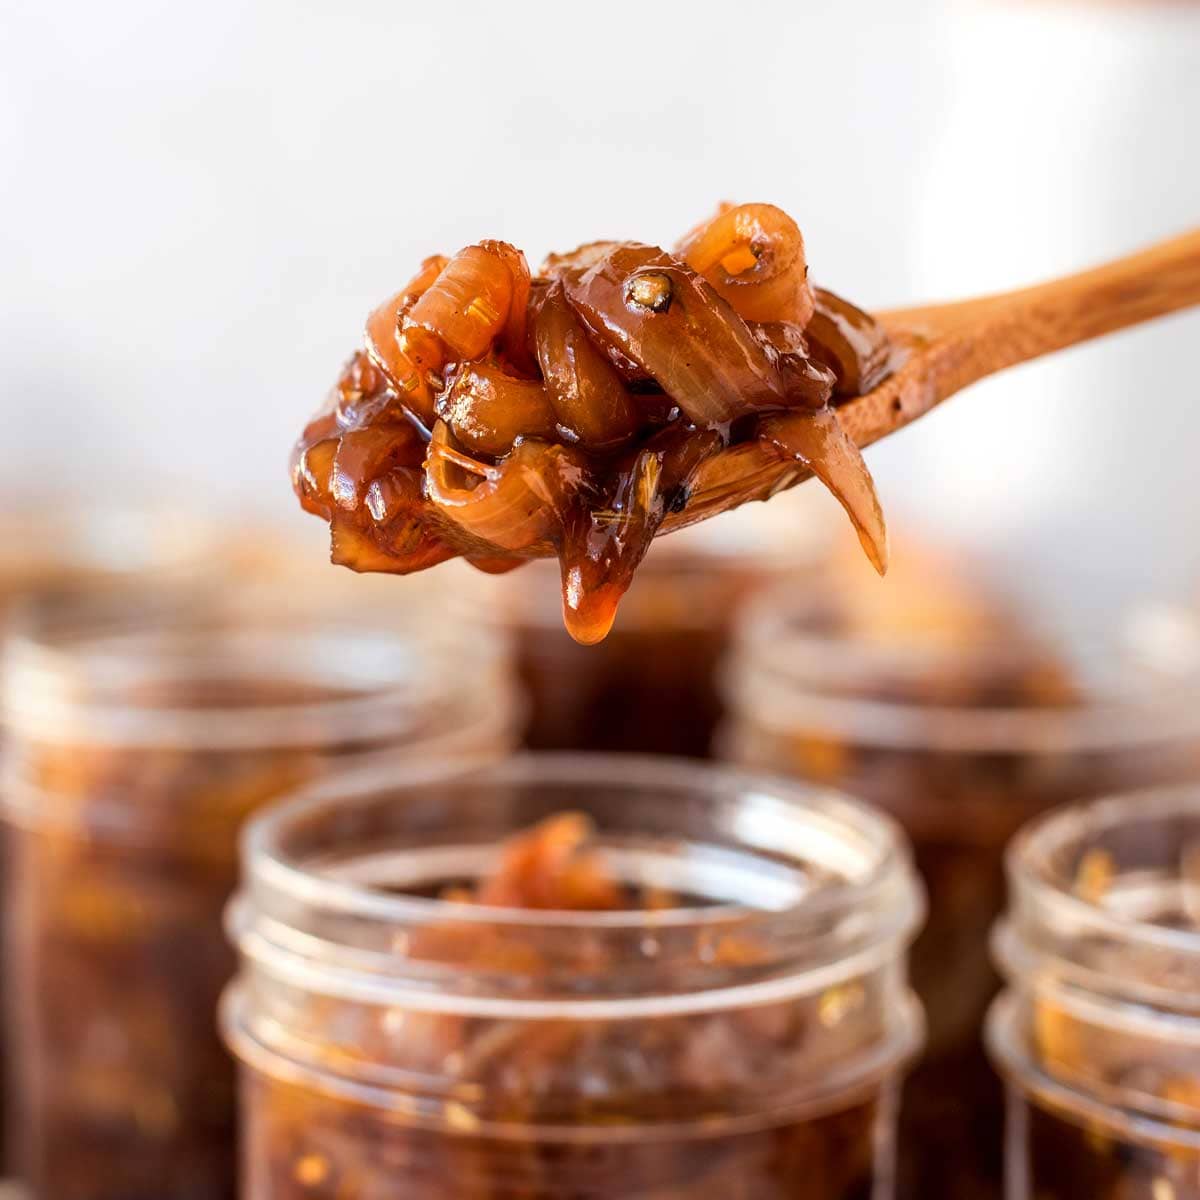
Caramelized onions are one of those magical ingredients that can elevate any dish. Slowly cooking onions until they turn golden brown brings out their natural sweetness, creating a savory-sweet flavor that pairs beautifully with meats, sandwiches, pastas, and even soups.
While caramelized onions taste incredible fresh, they can be time-consuming to prepare every time you need them. That’s where canning comes in handy. By canning caramelized onions, you can store them in jars and keep them on hand to quickly add depth and flavor to your meals without the extra cooking time.
This method not only saves you time but also helps preserve the flavor of peak-season onions for months. With a few basic ingredients and proper canning techniques, you’ll have a ready supply of caramelized onions in your pantry.
Cooking Time & Serving
-
Preparation time: 10 minutes
-
Cooking time: 45–60 minutes
-
Canning time: 40 minutes (in pressure canner)
-
Servings per jar: About ½ cup per serving
-
Storage: Up to 1 year (when properly canned and stored in a cool, dark place)
Ingredients
-
4 pounds yellow onions (peeled and thinly sliced)
-
3 tablespoons olive oil or unsalted butter
-
1 teaspoon salt
-
2 tablespoons balsamic vinegar (optional, for flavor)
-
½ teaspoon black pepper
-
½ cup vegetable or beef broth (for deglazing, optional)
How to Make
Step 1: Prepare the Onions
-
Peel the onions and slice them thinly. A mandoline slicer can speed up the process and ensure even cuts.
Step 2: Caramelize
-
Heat olive oil or butter in a large, heavy-bottomed skillet or pot over medium-low heat.
-
Add onions and salt, stirring occasionally to prevent sticking.
-
Cook slowly for 40–60 minutes, stirring every 5–10 minutes, until onions are golden brown and jammy.
-
Deglaze with broth or balsamic vinegar near the end for extra flavor.
Step 3: Prepare Jars
-
Sterilize canning jars, lids, and rings by boiling them in hot water for 10 minutes. Keep warm until use.
Step 4: Fill Jars
-
Spoon hot caramelized onions into jars, leaving 1-inch headspace.
-
Remove any air bubbles with a non-metal utensil, wipe rims clean, and secure lids.
Step 5: Pressure Can
-
Place jars in a pressure canner with the recommended water level.
-
Process at 10 pounds pressure for 40 minutes (adjust for altitude as needed).
-
Let pressure drop naturally before removing jars.
Step 6: Cool & Store
-
Allow jars to cool for 12–24 hours on a towel-lined surface.
-
Check seals: lids should not flex up and down.
-
Label and store in a cool, dark place.
Notes
-
Always use a pressure canner, not a water bath, for onions due to their low acidity.
-
You can experiment with different onion varieties (red, yellow, or sweet onions) for unique flavors.
-
Do not add dairy (like cream or cheese) before canning; add those when serving.
-
If you don’t want to can, caramelized onions can also be frozen in small portions.
FAQs
Q: Can I water-bath can caramelized onions?
A: No. Onions are a low-acid food, so they must be pressure canned to avoid food safety risks.
Q: How long do canned caramelized onions last?
A: Properly sealed jars last up to 12 months in a cool, dark pantry.
Q: Can I flavor them with wine or herbs?
A: Yes, but use small amounts of wine or vinegar. Fresh herbs are best added after opening the jar, not before canning.
Q: Can I freeze instead of canning?
A: Absolutely! Freeze in ice cube trays or small containers for up to 3 months.
Nutrition Information (Per 2 Tbsp serving)
| Nutrient | Amount |
|---|---|
| Calories | 35 |
| Total Fat | 2g |
| Saturated Fat | 0.5g |
| Carbohydrates | 5g |
| Sugars | 2g |
| Fiber | 1g |
| Protein | 0.5g |
| Sodium | 120mg |
Values are approximate and will vary depending on ingredients and portion size.
Disclaimer
This recipe is intended for general informational purposes only. Always follow proper canning safety guidelines to avoid foodborne illness. Consume caramelized onions in moderation as part of a balanced diet. Individuals with food allergies (such as sensitivity to onions, butter, or vinegar) should avoid or adjust the recipe accordingly.