Introduction
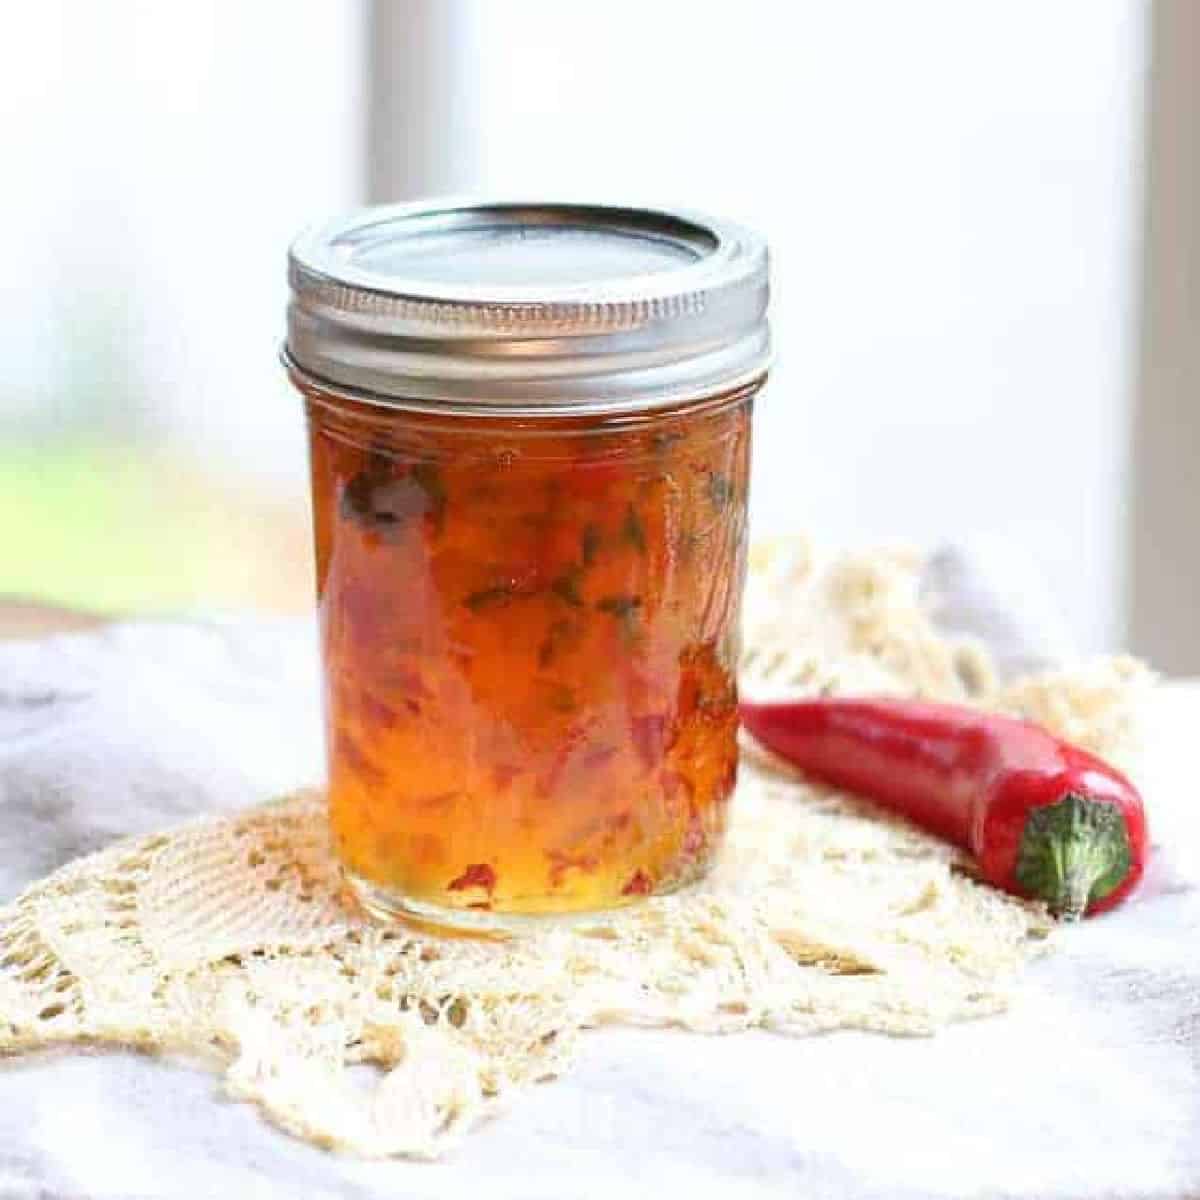
Pepper jelly is a sweet and spicy spread made from peppers, sugar, vinegar, and pectin. It is a type of preserve that you can can in jars and keep for months. In this recipe we will show you how to make pepper jelly and then seal it in jars so it stays good for a long time. You can use mild peppers or hot ones, depending on what you like. This recipe is about turning fresh peppers into a jammy jelly that tastes great on bread, cheese, or grilled meat.
People love pepper jelly because it gives a burst of flavor. It has sweetness from the sugar, tanginess from the vinegar, and heat from the peppers. The contrast of these flavors makes it exciting for the tongue. It is also colorful, so jars of pepper jelly look beautiful on a shelf or as a gift. Many people enjoy making it as a way to preserve the harvest of their pepper plants or to make something special in the kitchen.
You might ask: when should you make pepper jelly? You can make it when you have fresh peppers, such as in late summer or autumn. You might also make it as gifts for friends or family. It is great when you want a spicy surprise in your meals, or when regular jam feels too sweet. Also, for some people who enjoy cooking or preserving food as a hobby, this gives joy and a sense of pride. And when you spread it on plain bread or cheese, it can make your snack more interesting without needing heavy sauces.
Ingredients You Will Need
Here are the ingredients you need, with quantities and units:
-
Fresh chili peppers (or mix of bell peppers and chilies) — 4 to 5 cups finely chopped
-
Apple cider vinegar — 1 ¼ cups
-
Lime juice (fresh) — ¼ cup
-
Salt — 1 teaspoon
-
Powdered pectin — 1.75 ounces (or liquid fruit pectin equivalent)
-
Granulated sugar — 5 cups
-
Clean canning jars with lids and rings — 5 or 6 jars (about 8 ounce / 240 ml size)
You may adjust the type of peppers (milder or hotter) based on your taste.
Step by Step Method
Here is a detailed method in simple steps so even beginners can follow.
-
Prepare jars and equipment
Wash your jars, lids, and rings in hot, soapy water. Rinse well. Place them in a large pot of boiling water (or steaming rack) to sterilize. Keep them hot until ready to fill. This prevents contamination. -
Chop the peppers
Wash your peppers, remove stems, and cut out seeds if you want less heat. Then finely chop them. You may also use a food processor to help, but avoid turning them into puree. You want small bits remaining but not a smooth paste. -
Combine ingredients in a pot
In a large heavy pot, put the chopped peppers, vinegar, lime juice, sugar, and salt. Stir to combine everything. Heat over medium heat and bring it to a boil. Stir often so it does not stick or burn. -
Boil and cook down
Let the mixture continue to boil gently (a low rolling boil) for about 10 minutes. Stir frequently. You may see foam forming on top — scoop off the foam with a spoon. -
Add pectin and finish
After the 10 minutes, stir in the pectin. If you use powdered pectin, sprinkle it in and stir well to dissolve. Then boil for exactly 1 minute while stirring constantly. After one minute, remove from heat. -
Fill jars
Using a ladle and a funnel, pour the hot jelly into your sterilized jars. Leave about ¼ inch (around 0.5 cm) space from the top (this is called headspace). Wipe the rim of each jar clean with a damp cloth so there is no residue. -
Seal jars
Place the lids and rings on jars (do not over tighten) just enough to hold the lid. Then place jars carefully in a water bath canner (a pot with racks) filled with water. Water must cover jars by at least 1 inch (2.5 cm). Bring water to a boil and process for 10 minutes (adjust for altitude if needed). -
Cool and store
After 10 minutes, remove jars with tongs or jar lifter and place them on a towel or rack. Let them cool undisturbed for 12 to 24 hours. You will hear “pops” as lids seal. Check each lid: if it’s concave and sealed, it is good. Any jars that did not seal should go in refrigerator and be used soon. Label jars (date, name) and store in a cool, dark place. It can last many months if properly sealed. -
Wait and use
Give your jelly jars at least a day to fully set before using. Then you may open and use. Once open, keep in refrigerator.
That is all the method. Follow carefully, and your pepper jelly will turn out well.
Why This Recipe Is Special
This pepper jelly recipe is special for many reasons. First, it combines simple ingredients to give a complex flavor. The sweetness, the tang, and the heat all join to make your food more interesting. You can spread it on toast, dip crackers in it, or use it as a glaze on grilled meat.
Second, it is a way to preserve fresh peppers. Instead of peppers going bad, you turn them into something useful that lasts for months. This is a good idea if you grow peppers or buy many when in season.
Third, making jelly by canning is a rewarding process. When you hear the jars pop as they seal, you feel satisfaction. You create something from scratch.
Fourth, there are health points. Peppers are a source of vitamins (especially vitamin C) and antioxidants. While the sugar content is high (because you need sugar for jelly), you are adding real peppers rather than artificial flavor. Also, as a homemade product you avoid many preservatives and additives found in store jams.
Fifth, taste is unique. Many store jellies are either too sweet or too mild. Here you can control how hot it will be. If you prefer mild, use bell peppers. If you like spicy, include chilies. You can have your version.
So overall, this recipe gives you control, flavor, preservation, and joy in the kitchen.
Extra Tips for Better Taste
Here are some creative tips to improve taste and success:
-
Use fresh, firm peppers. Older or soft ones may have lower flavor or less acid.
-
Wear gloves when chopping hot chilies to protect your skin from irritation.
-
Try mixing pepper types: bell pepper plus jalapeño or serrano, so you have balance of color and heat.
-
Use fresh lime juice rather than bottled, for a brighter tang.
-
Taste test before adding all sugar. You can adjust sugar slightly (but not too low or jelly may not set).
-
Skim foam while boiling — foam can make texture cloudy.
-
Make sure pectin is fresh. Old or expired pectin might not work and your jelly may not gel.
-
After filling jars, lightly tap jars on counter to remove air bubbles before sealing.
-
If a jar fails to seal, you can reprocess it or use it soon in the fridge.
-
Let jars sit undisturbed for full day — moving them may disturb the set.
-
Try adding tiny bits of grated ginger, garlic powder, or even a drop of citrus peel to create a twist. But do small tests for flavor.
-
When using jelly, warm it slightly (microwave for a few seconds) to make spreading easier.
-
Use small jars if you expect to use in short time — less waste.
-
Always label with date and name so you remember what is in each jar.
Final Thoughts
Making your own pepper jelly by canning is a fun and rewarding project. You turn simple peppers, sugar, vinegar into a bright, flavorful spread. When you open your first sealed jar and taste that mix of sweetness and heat, you will feel proud. This recipe works for beginners if you follow each step carefully and sterilize your jars. Keep your work clean and pay attention to time and temperature.
Once you have jars of pepper jelly, you can share them with friends or use them throughout the year. It makes breakfast, snacks, or even special meals better. You can also give jars as gifts or enjoy the pleasure of doing something from scratch.
So I hope you try this recipe. Don’t worry if your first batch is not perfect — practice helps. Enjoy the process and enjoy the flavor.
Nutrition Details
Below is a rough estimate of nutrition. Please note that values can vary by exact ingredients, pepper types, and how much jelly you eat.
Nutrition Table (per serving)
| Nutrient | Amount per Serving* |
|---|---|
| Calories | 90 kcal |
| Carbohydrates | 23 g |
| Sugar | 22 g |
| Protein | 0.2 g |
| Fat | 0.1 g |
| Fiber | 0.3 g |
| Sodium | 52 mg |
| Vitamin C | ~18 mg |
| Vitamin A | ~120 IU |
* Based on 2 tablespoons of jelly as a serving.
If you make six 8-ounce jars, each jar has many servings. When you open, use in a few weeks.
Disclaimer
This article is for general cooking information only. Everyone’s body is different. The nutrition values are estimates and may not match exactly what you get. If you have health or dietary restrictions, check with a health professional before eating high sugar foods. Do a small test batch first, and always inspect jars for spoilage. Results may change depending on conditions, ingredients, and method.