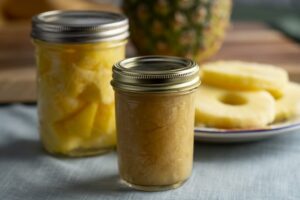
Baked beans are a timeless comfort food, enjoyed at family barbecues, potlucks, or as a hearty side dish during weeknight dinners. Sweet, smoky, and savory, they bring a warm richness to any meal. While store-bought versions are convenient, nothing compares to the flavor of homemade baked beans.
Canning baked beans is an excellent way to preserve them for long-term use without sacrificing taste or quality. By preparing your own batch, you can control the ingredients, adjust the sweetness or spice, and ensure a healthier option compared to many commercial varieties.
This recipe will guide you through making and canning baked beans from scratch, ensuring you always have a ready-to-serve jar in your pantry. With just a few simple steps, you can enjoy homemade baked beans all year round.
Cooking Time and Serving
-
Prep Time: 12–14 hours (including bean soaking)
-
Cook Time: 1 hour 30 minutes
-
Canning Time: 65–75 minutes (pressure canning)
-
Total Time: ~15 hours (mostly inactive)
-
Servings: About 7 pint jars (7–9 servings per jar)
Ingredients
-
6 cups dried navy beans (or great northern beans)
-
1 large onion, diced
-
1 cup molasses
-
1 ½ cups brown sugar (packed)
-
2 tsp dry mustard powder
-
1 tbsp smoked paprika
-
1 tsp ground black pepper
-
2 tsp salt
-
6–8 slices thick-cut bacon (optional, for smoky flavor)
-
6 cups tomato sauce (or crushed tomatoes)
-
2 tbsp apple cider vinegar
-
3 cloves garlic, minced
-
Water (for soaking and cooking)
How to Make
Step 1: Soak the Beans
-
Rinse the dried beans thoroughly.
-
Place beans in a large bowl, cover with water, and let them soak overnight (12–14 hours). Drain and rinse before cooking.
Step 2: Prepare the Sauce
-
In a large pot, cook diced onion and garlic until soft.
-
Add molasses, brown sugar, mustard, smoked paprika, salt, pepper, vinegar, and tomato sauce. Stir well and bring to a gentle simmer.
Step 3: Pre-Cook the Beans
-
Place soaked beans in a large pot, cover with water, and simmer for about 30–40 minutes until slightly tender (not fully cooked). Drain.
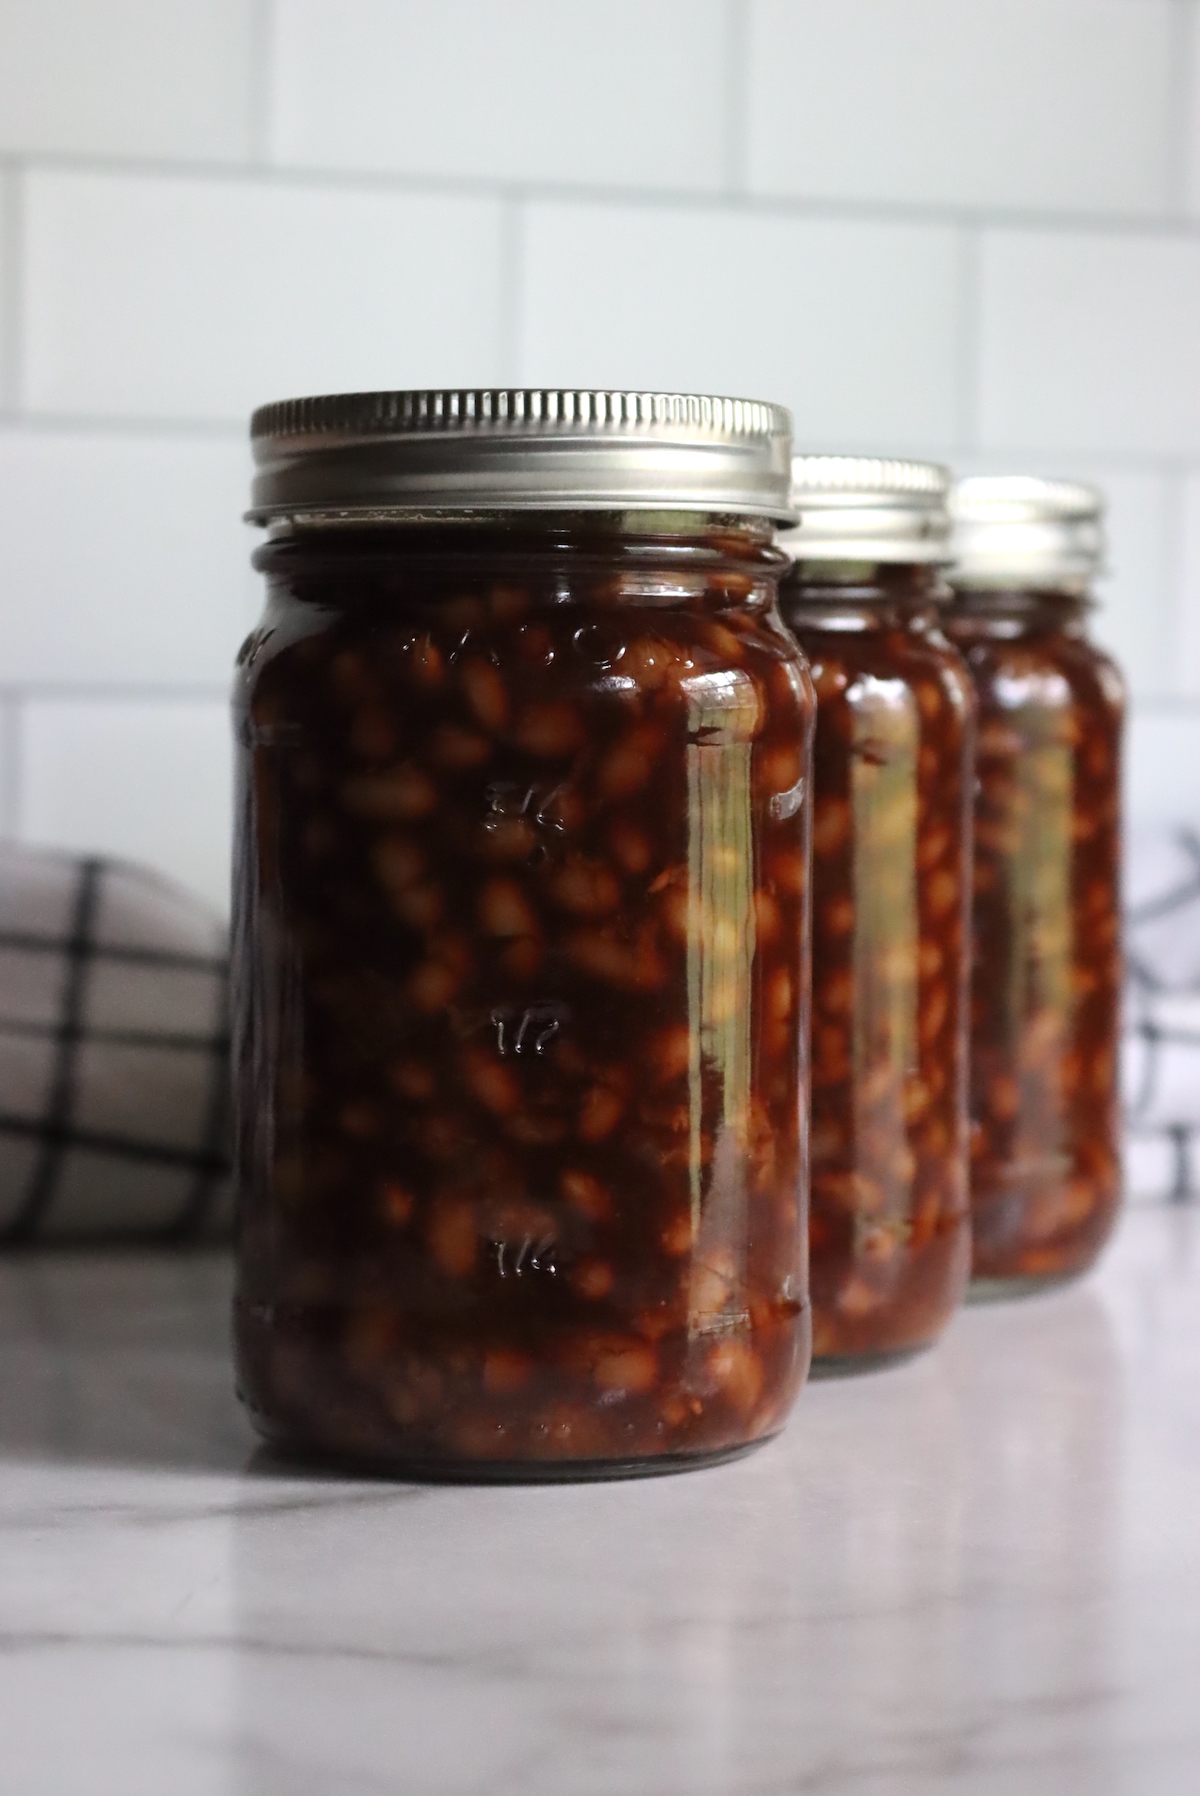
Step 4: Combine Beans and Sauce
-
Mix the pre-cooked beans with the sauce. Stir to coat evenly.
-
If using bacon, chop and stir it into the mixture.
Step 5: Fill the Jars
-
Sterilize pint jars, lids, and rings.
-
Fill jars with the bean mixture, leaving 1-inch headspace.
-
Remove air bubbles by running a non-metallic utensil around the inside edges. Wipe rims clean and secure lids.
Step 6: Pressure Can
-
Place jars in a pressure canner with 2–3 inches of simmering water.
-
Process at 10 PSI:
-
Pints: 65 minutes
-
Quarts: 75 minutes
-
Turn off heat and let the canner naturally depressurize before removing jars.
Step 7: Cool and Store
-
Place jars on a towel and let them cool for 12–24 hours.
-
Check seals before storing in a cool, dark pantry.
Notes
-
Always use a pressure canner, not a water bath canner, for baked beans (because they are low-acid foods).
-
For a vegetarian version, skip the bacon and add liquid smoke for flavor.
-
Adjust sweetness by reducing or increasing brown sugar or molasses.
-
Properly sealed jars last up to 12–18 months in storage.
FAQs
Q: Can I use canned beans instead of dried?
A: It’s not recommended for canning since they may over-soften. Start with dried beans.
Q: Do I need to pre-cook the beans?
A: Yes, pre-cooking ensures even texture and safe preservation.
Q: How do I know if a jar didn’t seal?
A: If the lid pops up when pressed, it isn’t sealed. Refrigerate and use within a week.
Q: Can I double this recipe?
A: Yes, but always maintain proper canning times and pressures.
Nutrition (Per 1-cup serving, approx.)
| Nutrient | Amount |
|---|---|
| Calories | 285 kcal |
| Carbohydrates | 58 g |
| Protein | 10 g |
| Fat | 3.5 g |
| Fiber | 9 g |
| Sugar | 22 g |
| Sodium | 410 mg |
Disclaimer
Enjoy baked beans in moderation, as they can be high in sugar and sodium. If you have allergies to legumes, tomatoes, or pork, avoid or substitute ingredients accordingly. Always follow safe pressure canning guidelines to prevent foodborne illness.